

Embroidery is an art form that demands precision and attention to detail. One critical factor influencing the quality of your embroidered creations is thread tension. Achieving the ideal thread tension for your embroidery machine is akin to finding the sweet spot – not too tight, not too loose. In this comprehensive guide, we’ll explore the significance of thread tension, common challenges, and practical tips to help you discover the best thread tension for your embroidery projects.
I. Introduction
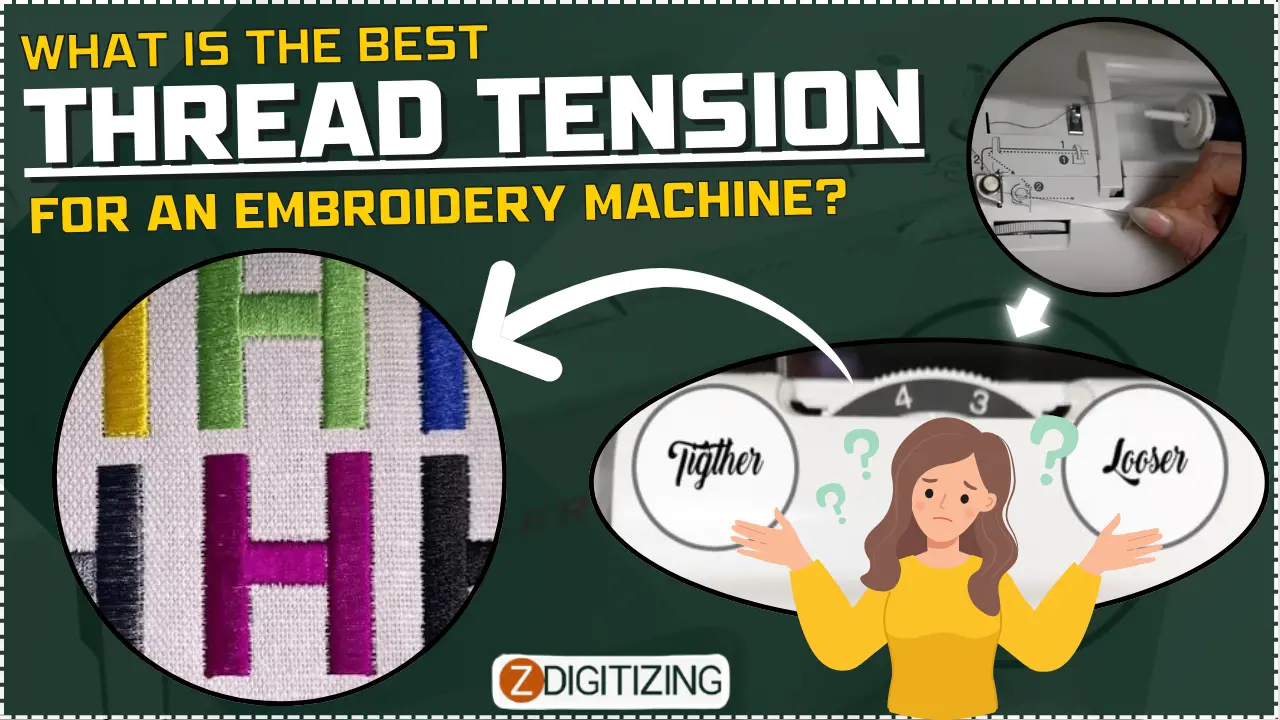
Thread tension plays a pivotal role in the embroidery process, influencing the appearance, durability, and overall quality of your stitched designs. Whether you’re a seasoned embroiderer or just starting, understanding how to achieve the perfect thread tension is a skill that will elevate your craft.
A. Importance of Thread Tension
Thread tension refers to the balance between the upper and lower threads as they interlock within the fabric. When properly adjusted, it results in clean, uniform stitches, preventing issues such as thread breakage, looping, or puckering.
B. Overview of the Guide
This guide will delve into the intricacies of thread tension, covering topics such as how to identify improper tension, the impact of different fabrics, and step-by-step instructions on achieving the optimal tension for your embroidery machine.
II. Identifying Improper Thread Tension
Before delving into the best practices, let’s identify the signs of improper thread tension:
- Loops on the Surface: Loops appearing on the surface of the fabric indicate that the tension is too loose.
- Thread Breakage: Frequent thread breakage may result from overly tight tension.
- Uneven Stitches: Inconsistent stitch formation, with some stitches appearing loose while others are tight, suggests an imbalance in tension.
- Puckering or Tunneling: Fabric puckering or tunneling around the stitches can occur when tension is too tight.
III. Impact of Fabric on Thread Tension
Different fabrics require different thread tensions. Understanding how fabric type influences tension is crucial for achieving optimal results:
A. Lightweight Fabrics
- Loose Tension: Lightweight fabrics, such as chiffon or organza, often require looser tension to prevent puckering.
- Use of Stabilizers: To maintain stability and avoid distortion, use stabilizers in conjunction with the appropriate tension adjustments.
B. Medium-weight Fabrics
- Balanced Tension: Fabrics like cotton or linen generally respond well to a balanced thread tension setting.
- Test Stitching: Conduct test stitches on a scrap piece of the same fabric to fine-tune tension settings.
C. Heavyweight Fabrics
- Tightened Tension: Heavyweight fabrics like denim or canvas may benefit from slightly tightened tension to ensure proper stitch formation.
- Check Needle Size: Use a needle appropriate for heavy fabrics and consider adjusting tension accordingly.
IV. Achieving the Best Thread Tension: Step-by-Step Guide
Now, let’s explore the steps to achieve the best thread tension for your embroidery machine:
A. Understand Machine Settings
- Refer to the Manual: Consult your embroidery machine’s manual for specific instructions on adjusting thread tension.
- Thread and Needle Compatibility: Ensure that the thread and needle sizes are compatible. Using the wrong combination can lead to tension issues.
B. Start with a Neutral Setting
- Reset to Default: If unsure, reset your machine’s tension settings to the default position.
- Thread the Machine Properly: Correct threading is fundamental. Follow the threading guide provided by your machine’s manufacturer.
C. Conduct Test Stitches
- Select a Scrap Fabric: Choose a piece of scrap fabric identical to what you’ll be using for your project.
- Run a Test Stitch: Execute a simple embroidery pattern on the scrap fabric, observing the stitch quality.
D. Analyze Test Stitch Results
- Check for Loops: If loops appear on the surface, the tension may be too loose.
- Assess Thread Breakage: Frequent thread breaks indicate overly tight tension.
- Evaluate Stitch Consistency: Uneven stitches suggest an imbalance in tension.
E. Make Incremental Adjustments
- Loose Tension: If loops or puckering are evident, slightly decrease the tension settings.
- Tightened Tension: In case of frequent thread breaks or loose stitches, make small adjustments to tighten the tension.
- Repeat Test Stitches: After each adjustment, run test stitches to assess the impact and make further adjustments if necessary.
F. Consider Special Techniques
- Fine-tune for Special Fabrics: If working with unique fabrics or specialty threads, be prepared to fine-tune tension settings based on their characteristics.
- Experiment with Stabilizers: For challenging fabrics, experiment with stabilizers in addition to tension adjustments.
V. Tips for Maintaining Optimal Thread Tension
Beyond the initial setup, here are some tips for maintaining optimal thread tension throughout your embroidery digitizing projects:
A. Regular Maintenance
- Clean the Machine: Regularly clean your embroidery machine, removing lint and debris. A clean machine operates more smoothly and maintains consistent tension.
- Check for Thread Snags: Inspect the thread path for any snags or obstacles that could disrupt the thread flow.
B. Quality Thread and Needles
- Invest in Quality Thread: High-quality embroidery thread is less prone to breaking and contributes to better tension.
- Choose the Right Needles: Ensure that you’re using the correct needle size and type for your fabric. The right needle reduces tension-related issues.
C. Monitor Bobbin Tension
- Adjust Bobbin Tension if Necessary: In some cases, adjusting the tension of the bobbin thread may be necessary. Refer to your machine’s manual for guidance.
- Consistent Bobbin Winding: Ensure the bobbin is wound evenly to prevent variations in tension during embroidery.
D. Evaluate Design Complexity
- Simplify Intricate Designs: Extremely intricate designs may require more frequent tension adjustments. Simplify complex designs to reduce the likelihood of tension-related issues.
- Test Small Sections: If working on a complex design, consider testing small sections to identify and address tension issues before completing the entire project.
VI. Conclusion
Achieving the best thread tension for your embroidery machine is a journey that involves experimentation, observation, and a keen understanding of your equipment and materials. By following the steps outlined in this guide, you can navigate the intricacies of tension adjustments and create beautifully stitched designs with confidence.
A. Recap of Key Points
Recall the importance of thread tension, signs of improper tension, and the step-by-step guide to achieving the best thread tension for your embroidery machine.
B. Encouragement for Exploration
Embroidery is both an art and a science. Encourage readers to explore different fabrics, experiment with tension settings, and embrace the learning process.
C. Share Your Tension Tips
Invite readers to share their experiences with thread tension and any additional tips they’ve found effective. Building a community of embroiderers fosters shared knowledge and creativity.
Zdigitizing
We trust this article might really work out for you. To digitize embroiery plan you would require an expert like ZDigitizing, as digitizing is a mind boggling process.
Zdigitizing is a digitizing embroidery service organization that gives embroidery digitizing service and Vector Art Services all around the world to organizations, ventures, and enterprises. zdigitizing gives fashionable, strong, and sensible custom digitizing and vector craftsmanship administrations. We have been conveying first class digitizing embroidery administrations for 20+ years.
VII. FAQs
A. What should I do if my machine is consistently breaking the thread?
Consistent thread breaks may indicate tight tension. Follow the steps in the guide to gradually loosen the tension settings and observe the impact on thread breakage.
B. Can using the wrong needle size affect thread tension?
Yes, using the wrong needle size can impact thread tension. Ensure that you’re using the correct needle size and type for your fabric to prevent tension-related issues.
C. How often should I clean my embroidery machine to maintain optimal tension?
Regular cleaning is essential to maintain optimal tension. Clean your machine after every few projects, focusing on removing lint and debris from the thread path.
D. Is it normal to make frequent tension adjustments for different fabrics?
Yes, it’s normal to make occasional tension adjustments when working with different fabrics. Conduct test stitches on scraps to fine-tune tension settings based on the fabric’s characteristics.
E. What should I do if I notice loops on the surface of my embroidery?
Loops on the surface indicate loose tension. Gradually tighten the tension settings, running test stitches after each adjustment to achieve a balanced and clean stitch appearance.


